Our feet. We use them every day, without much thought. They take us everywhere we need to go, and we don’t really give them much thought.
Until they start to hurt.
Teaser is one of the most challenging exercises in the pilates method. It shows up on every piece of equipment in the pilates system. It requires a balance of strength, flexibility, balance and control. It also requires coordination and correct timing so all body parts are working together to execute the final version of the exercise.
You can’t just say “Oh, my abs aren’t strong enough” to make Teaser accessible. It’s a combination of many things.
Here are 3 exercises to work on to help perfect your teaser. If any of these are unfamiliar to you, please check with your pilates teacher to make sure they are appropriate for your body, and that you are performing them correctly.
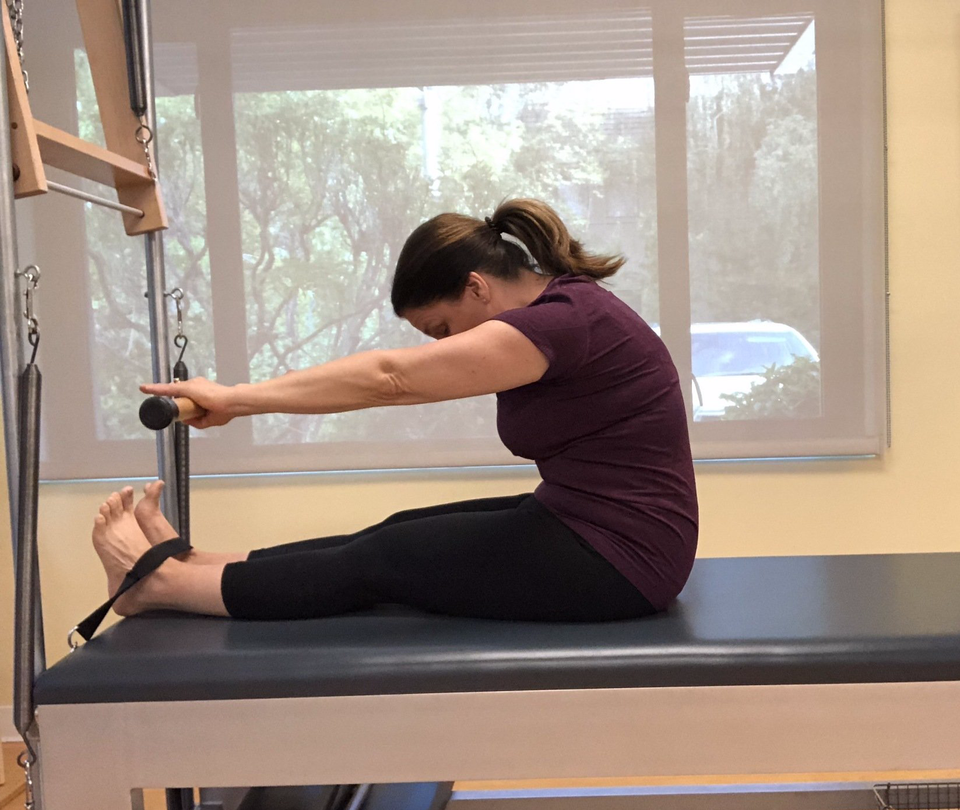
Roll Up is essentially Teaser with your legs down. In Roll Up, you will work to find the combination of stretch in your spine, strength in your center, and the lower body reach out of your legs. All of these things are what make up your teaser.
To find your lower body reach, use the strap at the end of your mat. If you don’t have one, hook your feet under a sofa or have a friend or family member hold your ankles. Start the exercise laying down. Flex your ankles and powerfully reach your heels down into the mat and away from you – under the strap. Feel like you are lengthening your low back, sit bones and legs toward your heels. Gently squeeze the backs of your inner thighs toward one another to find the strength in your seat . All of this together is your lower body reach.
Then, as you lift your head, followed by shoulders and spine up and off the mat, scoop your stomach back toward the wall behind you. As you round your spine up and over your hips, maintain the scoop of your belly and the lower body reach of your hips, legs and heels. Every muscle in your body should be working. Do not collapse over your legs! Then you will lose all of the muscular work that you have just established, and you will not find what you need to help you with your teaser.
Many people think of this as a hamstring stretch. If your hamstrings are tight, then – yes – you will feel a stretch in your hamstrings. But that is not the primary objective. You want to maintain your lower body reach. Hinging forward to reach your fingers toward your toes is not a lower body reach! It’s a lower body vacation. If you are actively working your lower body reach, you may not be able to reach your toes (even if your hamstrings are pretty flexible)!
Pull Up is Teaser facing the floor. It is similar to Roll Up in that it also requires the combination of stretch in your spine, strength in your center and a powerful lower body reach. It differs from Roll Up in that you are working with the spring of the Wunda Chair and you are working against gravity.
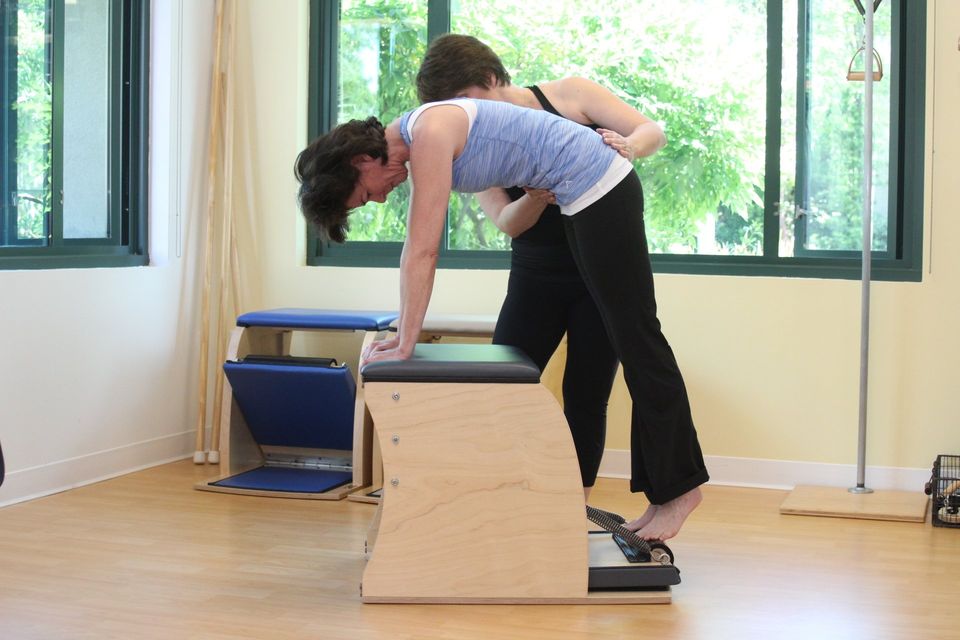
As you set yourself up for Pull Up, find your lower body reach by pressing your feet strongly down into the pedal. Press your arms firmly into the top of the chair, maintaining a strong connection to your back. Then, find your powerful abdominal scoop, reaching your belly in and up the front of your spine, like it is reaching up toward the ceiling. This shape is the same as the top part of Rollup!
Although it seems counter-intuitive, you lift the pedal up by pressing down into the pedal and lifting up with your belly. When you first try this, you may not even move! But persevere. Once you find the coordination of the “in and up” of the belly and the stretch down through the legs, you will feel like your body is moving as one. You will feel a ton of work in your stomach, but you will also feel a sense of ease. Don’t fight the exercise – or the chair itself. Allow the equipment to help your body find the muscles that you need.
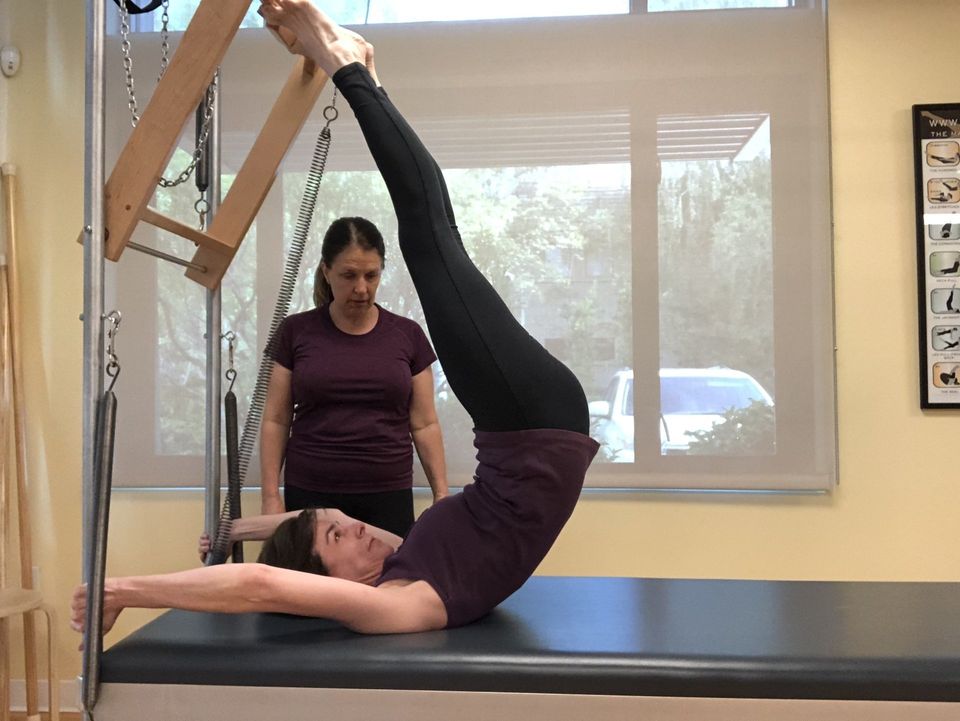
This last exercise addresses the same things we have been working on in Roll Up and Pull Up, except that it adds resistance to help you build more strength in the muscles you use for your lower body reach.
With the Push Through bar safely sprung from below, firmly press your feet into the bar and your hands into the vertical poles. Maintain this 2-way stretch – both on the way up and also on the way down. Scoop your stomach strongly “in and up” to support the strong “C” shape of your spine. As you press the bar up, think of using the strength of your center and your hips, rather than your legs. This is what makes it a full body exercise! This is where all the benefit comes from! If you are just using your legs, you will never build the strength in your center – and you may even tweak something in your back. If you have never done this exercise before, always consult your teacher to make sure it’s appropriate for you and that you are doing it correctly.
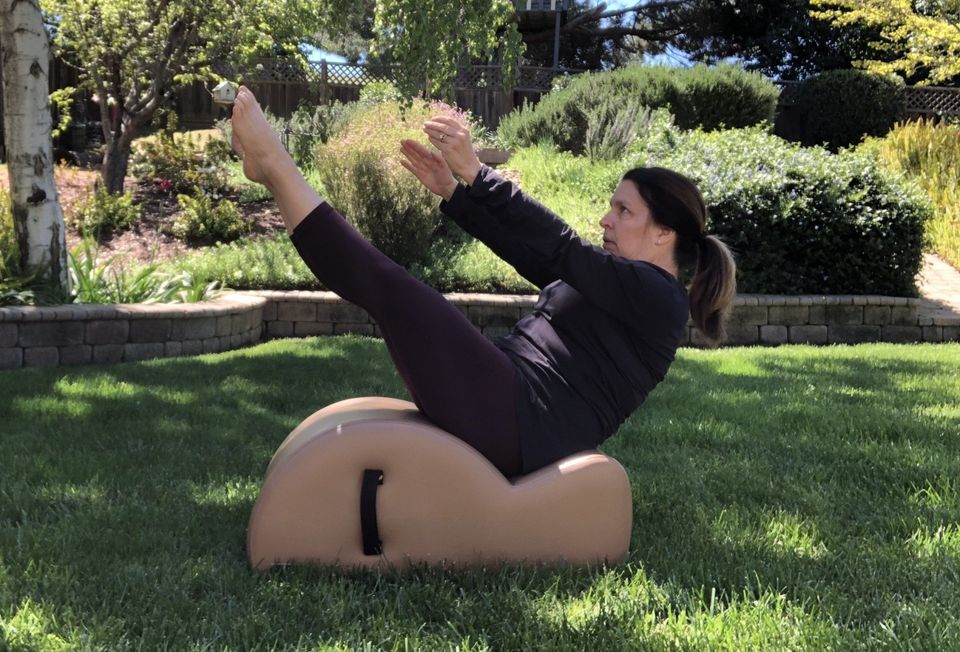
Now that we’ve done all of this preliminary work, it is time to practice our teaser. It can be performed on the Mat, the Cadillac, the Wunda Chair, the Reformer and even the Spine Corrector.
When you are first learning Teaser, you most likely will first learn it on the Mat. You have a long, flat stable mat to support you. The Spine Corrector is also a nice place to work on it, because the curve of the barrel helps support the weight of your legs!
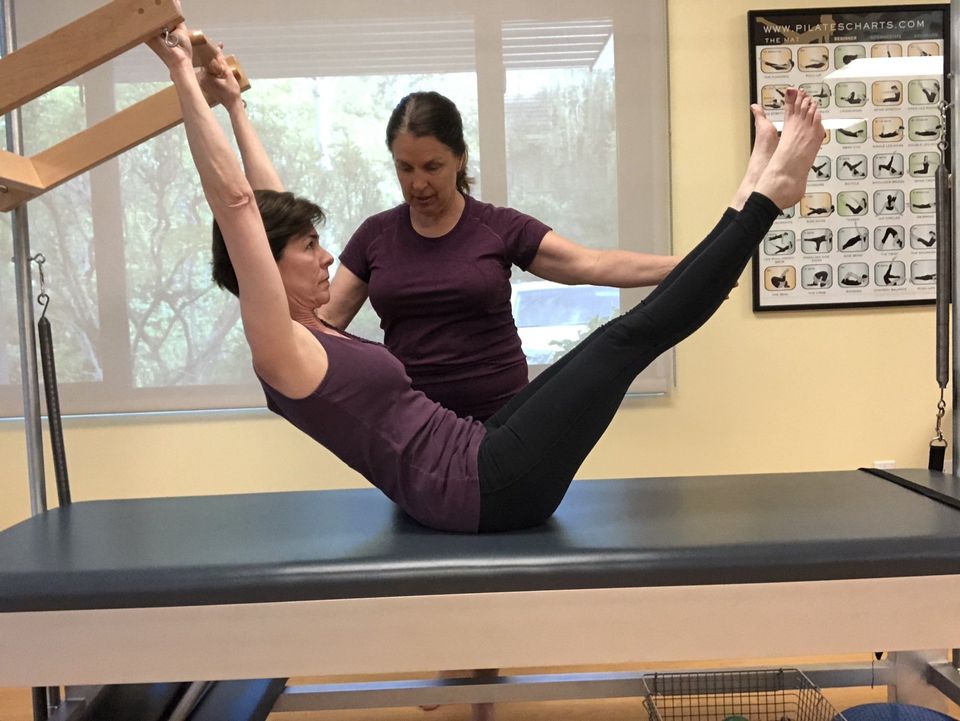
The Cadillac is another nice place to learn Teaser. You still have the long, stable support of the mat underneath you. But you have to deal with the squareness of the Push Through bar. In the long run, the PT bar will help you with your back connection. But in the short run, it can remind you of how tight your shoulders are!
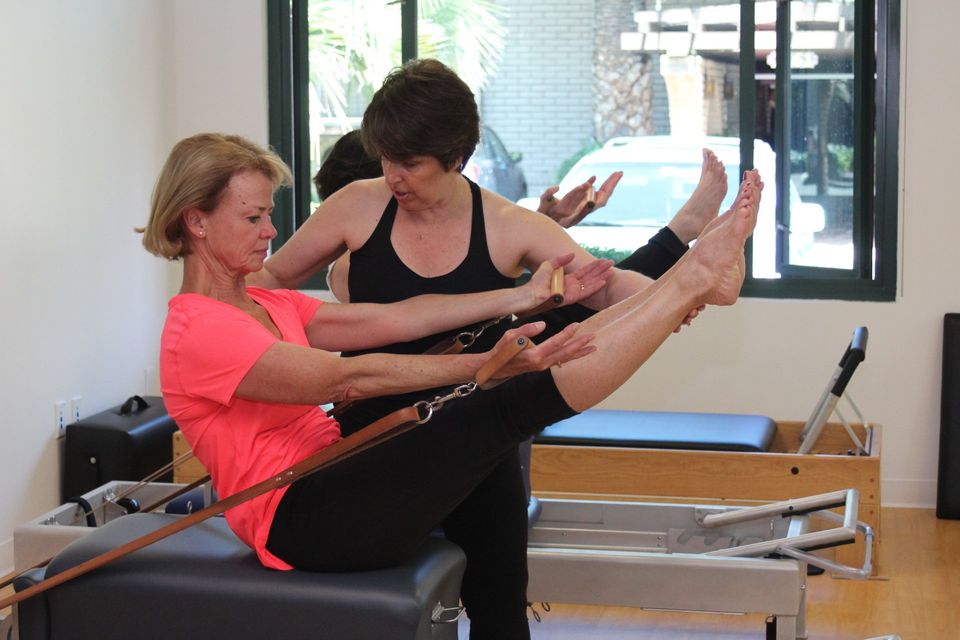
Teaser on the Reformer begins to make things a little more challenging. Instead of a nice long mat, you get a much smaller long box to lay on top of. Also, you lose a lot of stability because of the carriage moving underneath you! Here is where you really need to practice over and over to find the right timing for the simultaneous lifting of your upper body and lower body. If one end comes up faster (or slower) than the other end – you’ve got a big mess! You probably won’t even get up! Use the spring – it is there to help you in this exercise! If you are not reaching out enough from your back/arms into the handles, you really have no support at all.
The Wunda Chair is usually one of the more challenging places to do most pilates exercises – due to the itty bitty mat on top. That is especially true for the Teaser on top.
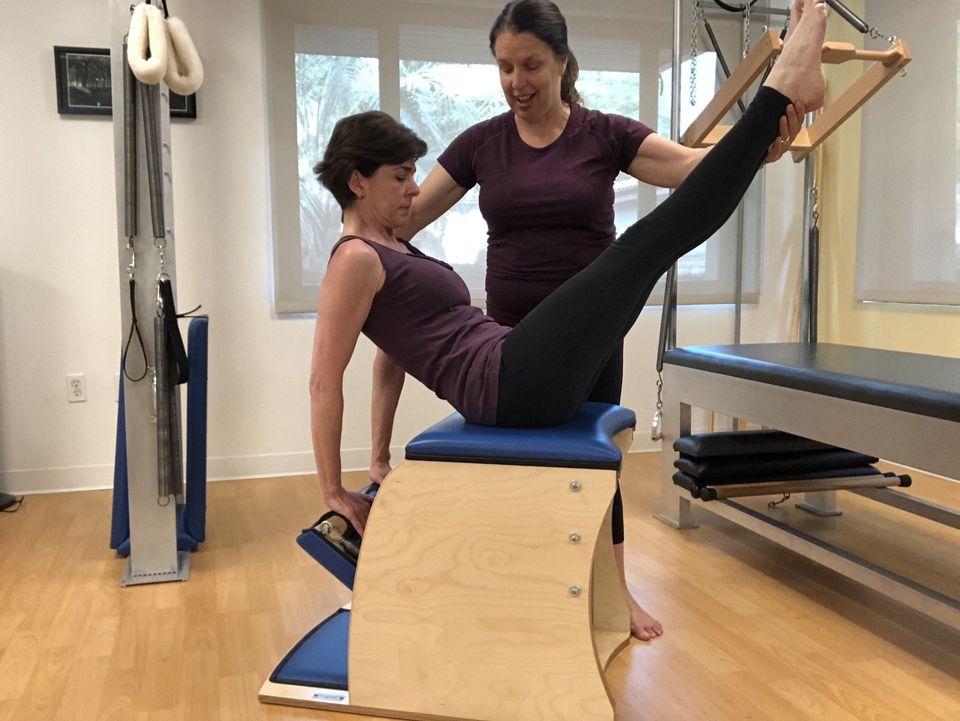
Once you have begun to feel more comfortable with your Teaser around the studio, the wunda chair is a place to challenge it more!
I hope this has given you lots of ideas to help you in your Teaser journey – wherever you are. Remember, there is never perfection. Everything is always a work in progress.
Ready to work on your Teaser? Email karen@karenchappellpilates.com to set up your session now!